Closet Organization Basics
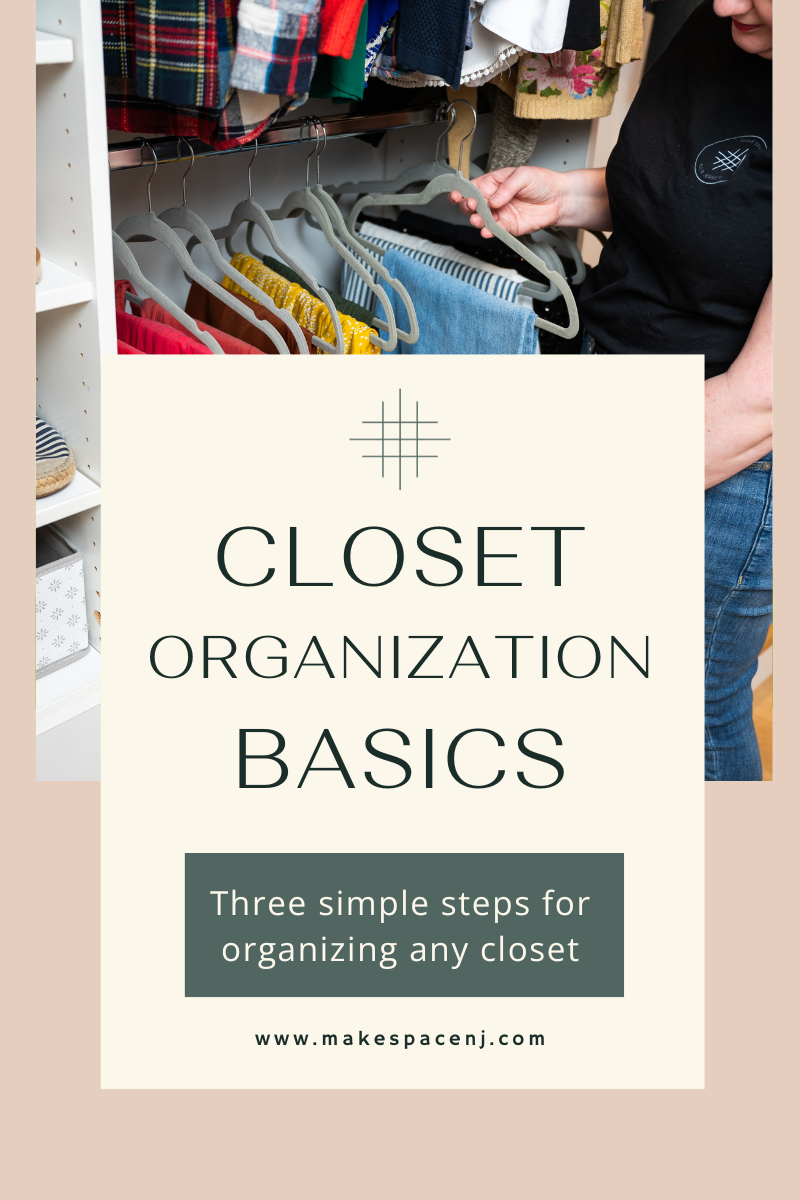
Do you have a closet you’re looking to organize but are unsure where to start? As professional organizers, we’ve seen a lot of closet spaces in need of some organization. It can be overwhelming to tackle a closet that has gotten out of hand, so we follow the same basic steps when organizing any closet space. It’s not a magic formula, but it keeps the process moving even when it gets overwhelming, and the same process works in every closet - every single time. I will break down the basics for you so you can tackle your closets.
Step 1: CATEGORIZE
It’s as simple as putting like items with like. You’ll need to empty the space to get it organized. As you’re clearing it out, take the time to separate everything into categories. Creating categories helps you to visualize how much of each category you have. It also enables you to see what kinds of things have ended up in the closet that do not belong there.
After categorizing, it’s always essential to do an edit or declutter. There is no sense in organizing things that no longer serve you, things that are broken or damaged, or things that you have no plans of using in the near future. [click here to read more tips on decluttering.]
This is also the time to set aside things that do not belong in the closet you’re working on. Even if you are not sure where an item should be stored but know it’s not in this space, set the items aside in a bin or pile to address after this project is completed. It’s important not to get distracted with another space while you’re still working on one, so setting things aside to be put away when you’re done keeps your momentum going without distractions.
Categorizing is a foundational principle in organizing. It simplifies finding things because everything in one category is together in one area. It also simplifies putting things away because there is just one place where they belong.
Step 2: ZONE YOUR SPACE
If a space holds more than one category - which most closets do! - create zones in the space for each category to live. In simple terms, you want to divide your closet into sections that will hold a particular category.
Zoning is where you want to think more broadly. Think of a zone as a more macro-level of organization, whereas your categories are more micro. For example, your zone could be Tops - but your categories are blouses, sweaters, t-shirts, tank tops, etc. You can split your categories within your zone (we’ll get to this in the next step!), but a zone is where those similar categories will live together. Another example of a zone in an office closet might be School Supplies - and the categories are Pencils, Notebooks, Markers, and Scissors.
Depending on the type of closet you’re organizing and the closet system already in place, your zones will be within a shelf or set of shelves, a drawer or set of drawers, a hanging rod, or even an over-the-door storage solution.
Step 3: CONTAINMENT
Contrary to what Pinterest and Instagram might tell you, containers are not just for aesthetics. Containment helps the system work and is a vital part of any organizational system. As professional organizers, we always set up some kind of containment for our clients because it helps them to have a clear boundary for their space and items, and it gives us a place to add a label - which is essential, especially when the systems are set up in a shared space like a pantry or hall closet. (More on labeling below!)
Containment is any boundary for the items you’re storing in a space. It can be as simple as a drawer, shelf, or bin or as specific as a drawer organizer within a drawer or a bin organizer within a bin. Containment does not need to be a huge added expense to a space or organizing project. The goal is to have a dedicated spot for each category to live within its zone; containment is how we achieve that goal.
One recommendation we always give our clients is to keep their containment consistent - using bins or baskets in the same or complementary materials, using same-sized bins, and matching hangers. This is because inconsistent containment creates visual clutter, making it harder for our brains to quickly find what we’re looking for. Aesthetics are not the primary goal, but there is absolutely something to a consistent and intentional aesthetic that makes it easier to not only find what you’re looking for quickly but also have the desire to keep a space tidy because the space feels better that way.
The final piece, and the piece that makes it all have a lasting impact, is labeling. Labeling is part of containment because you want to label the containers where the items are stored. Your labels can be as specific or general as you need them to be. Labeling is always more personal, and we love to create personalized labels that reflect our clients' lifestyles so that the space makes sense to them. For example, you can label a drawer that contains leggings and sweatpants as “leisure wear,” “soft pants,” or “comfy pants” - or even label each side of the drawer “leggings” and “sweatpants” divided by a drawer divider to keep them within their category.
Labeling makes it easy to find things, but its most significant function is to remind you where to put something away after you’ve used it. Sometimes, it’s helpful to label the container and the shelf it sits on so you can put it back in the same place. You can even create labels for containers within a zone and label the shelf with the zone name. Back to that School Supplies example - you’d label each container “Pencils,” “Notebooks,” “Markers,” and “Scissors,” and you’d label the shelf “School Supplies.”
Now that your closet is organized, it’s time to return to the pile of things you pulled out of the space and put them away. If you are not sure where something should belong yet, it’s ok to put the items in a place out of the way to take care of another time. I recommend labeling the bin they’re in with a detailed label, and putting a reminder in your calendar to tackle the bin within a week or two so you don’t forget about it.
If you organize a closet in your home, I’d love for you to share with me! Tag me @makespacenj on Instagram with your before and afters.


